
The dream of becoming a published author is more accessible than ever, especially with the advent of powerful, free digital tools.
For many aspiring writers, the cost and complexity of professional publishing software can be a significant barrier.
Fortunately, a widely accessible and remarkably capable platform offers a free and straightforward path to creating your own ebook: Google Docs.
Whether you’re a seasoned writer looking to streamline your workflow or a beginner taking your first steps into self-publishing, this guide will walk you through transforming your manuscript into a polished, distributable ebook.
Welcome to the World of Google Docs Ebook Creation

Self-publishing has exploded in recent years, offering authors unparalleled control over their work.
In the US alone, an estimated 500,000 new self-published works were released in 2023, a testament to the thriving market and the increasing opportunities for independent authors [State of the Self-Publishing Union, 2025].
With approximately 1.2 billion digital book downloads occurring annually worldwide, the demand for ebooks remains exceptionally high [E-Book Reader Market Size, Global Forecast To 2035, 2024].
This guide focuses on leveraging Google Docs, a ubiquitous word processor, to navigate this landscape.
Why Google Docs is Your Ideal Ebook Tool (Free, Accessible, Collaborative)
Google Docs stands out as an ideal choice for ebook creation due to its inherent strengths.
Firstly, it is completely free, removing a significant financial hurdle for authors.
Its accessibility is unparalleled; as long as you have an internet connection and a Google account, you can access your work from any device, anywhere.
Over 1 billion active users per month rely on Google Docs, underscoring its widespread adoption and collaborative power [Exploding Topics, 2025].
Furthermore, Google Docs leads with 58.
9% of total active usage time in document collaboration, making it exceptionally suited for projects involving editors, proofreaders, or co-authors [SQ Magazine, 2026].
Unlike desktop software that might require a specific operating system like Windows, Google Docs is cross-platform and browser-based, offering universal compatibility.
While some may be familiar with Microsoft Word, Google Docs often simplifies the process, offering powerful features without an overwhelming interface, making it an excellent alternative for ebook preparation.
What You’ll Learn in This Guide (From Setup to Export)
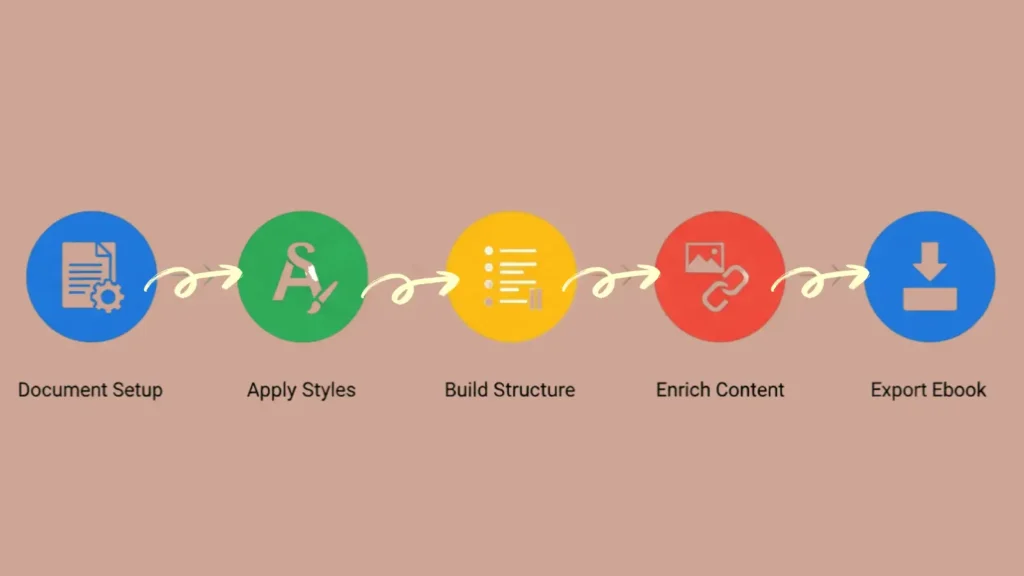
This comprehensive guide will take you step-by-step through the entire ebook creation process using Google Docs.
You will learn how to set up your document for optimal ebook formatting, master the use of styles for professional consistency, structure your ebook with essential elements like a table of contents and page numbers, enrich your content with images and links, and finally, how to export your finished ebook into versatile formats ready for distribution.
By the end of this guide, you will be equipped with the knowledge and confidence to transform your manuscript into a professionally presented ebook using only Google Docs.

The foundation of a successful eBook begins with proper document setup.
This chapter addresses how to start your project and understand the fundamental formatting principles that underpin eBook creation.
Starting with a Clean Slate (New Document or Importing Existing Content)
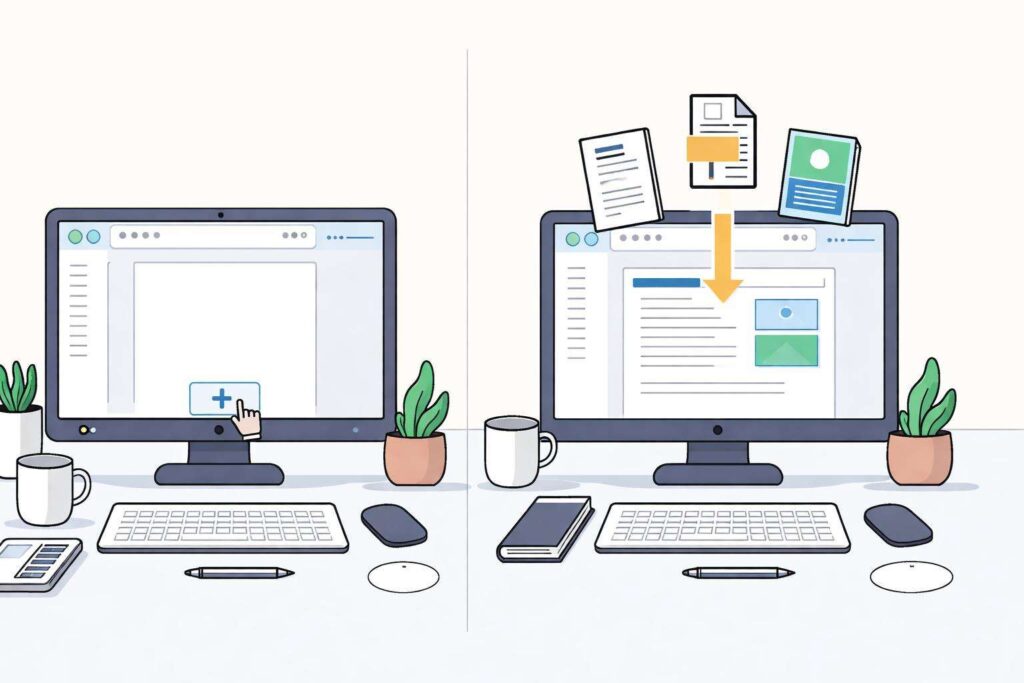
You have two primary paths when beginning your ebook project in Google Docs.
The simplest approach is to start with a brand-new document.
This allows you to implement ebook best practices from the ground up, ensuring a clean and structured file.
Navigate to Google Docs and click the “+” button to create a new, blank document.
Alternatively, you might have an existing manuscript, perhaps written in Microsoft Word or another word processor.
Google Docs can easily import these files.
Go to File > Open and select the “Upload” tab to drag and drop your existing document or choose it from your computer.
While Google Docs does a commendable job of importing, it’s crucial to review and reformat the imported document to ensure it adheres to ebook standards, as formatting can sometimes be inconsistent after conversion.
Using Google Docs’ own templates can also be a good starting point, providing pre-designed layouts you can adapt.
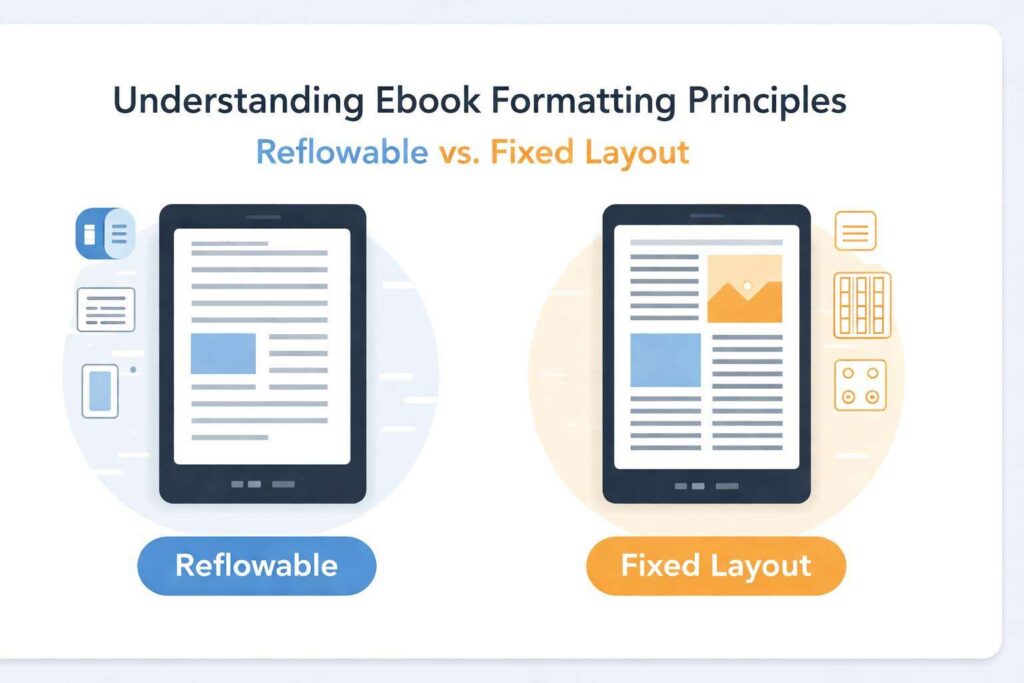
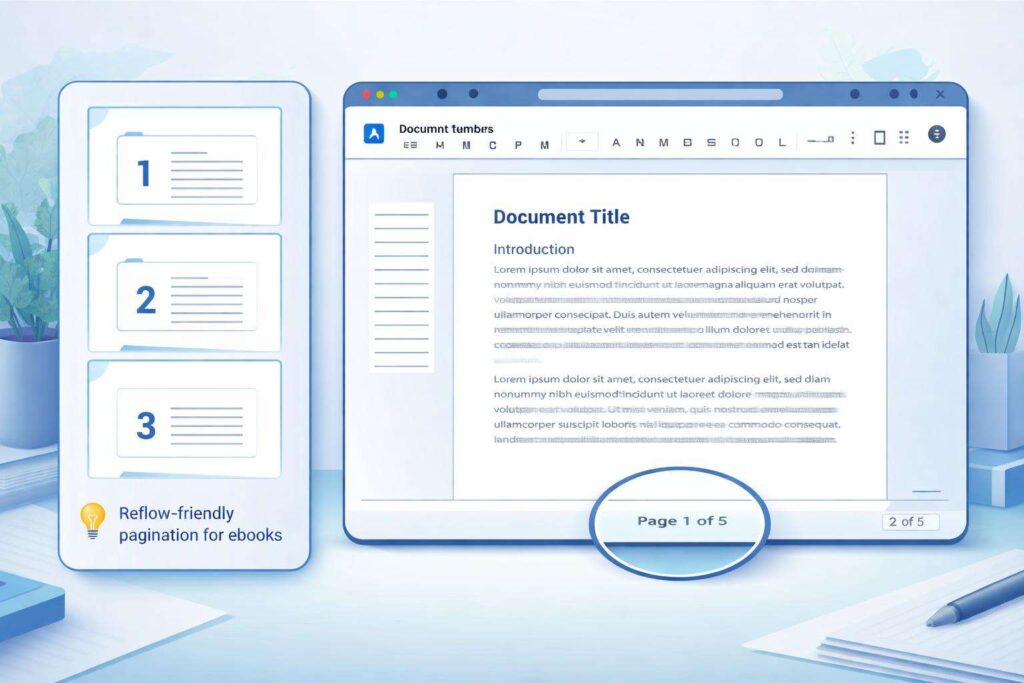
Understanding Ebook Formatting Principles (Reflowable vs. Fixed Layout)
eBooks operate differently from print.
The two main formatting types are reflowable and fixed-layout.
For most ebooks created in Google Docs, reflowable is the preferred and most practical format.
In a reflowable ebook, text and images adjust dynamically to fit the screen size and user preferences (like font size changes).
This is ideal for novels, non-fiction books, and most content intended for a wide range of e-readers and devices.
Fixed-layout ebooks, conversely, maintain a precise design, similar to a PDF or print page.
While more common for children’s books, comics, or highly visual publications where layout is critical, Google Docs is not inherently designed for creating complex fixed-layout ebooks.
Attempting to force a fixed layout in Docs can lead to significant formatting issues when exporting.
Therefore, focus your efforts on creating a well-structured, reflowable ebook.
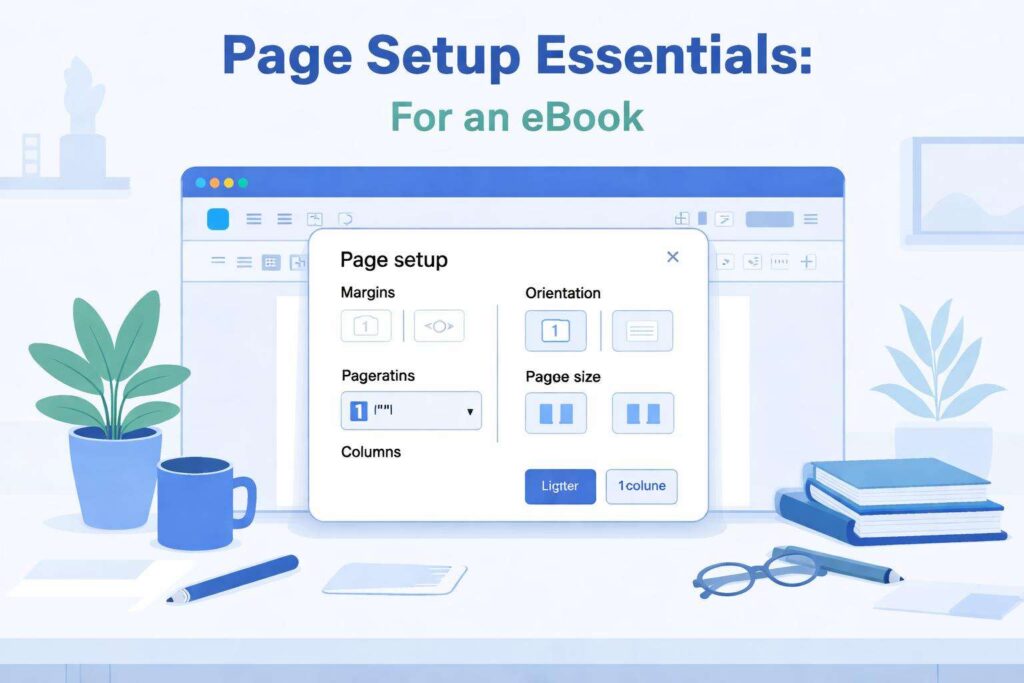
Page Setup Essentials:
While reflowable ebooks adapt to different screen sizes, some initial page setup in Google Docs is beneficial.
For ebooks, the concept of a fixed “page size” like in print is less critical, but establishing consistent margins and understanding document flow is key.
- Margins: For a reflowable ebook, excessively large margins are unnecessary and consume valuable reading space.
- Standard ebook guidelines often suggest margins of around 0.
- 5 inches on all sides.
- To adjust: go to File > Page setup.
- Under “Margins,” you can input your desired values for Top, Bottom, Left, and Right.
- Orientation: Keep the document in “Portrait” orientation.
- Landscape is generally not suitable for standard ebook reading devices.
- Paper Size: While you’re not printing, setting a standard size like “Letter” or “A4” is fine, as the ebook conversion process will reinterpret these dimensions for digital screens.
The true power of Google Docs for ebook creation lies in its robust styling system.
Using styles consistently ensures a professional, cohesive look and makes your document significantly easier to manage and edit.
The Power of Paragraph Styles for Consistency

Paragraph styles are the backbone of professional document formatting.
Instead of manually applying formatting (like bolding, font size, or indentation) to each instance of a heading or paragraph, you define styles once and apply them.
This guarantees that all elements of the same type (e.g., all main body text, all chapter titles) look identical.
This consistency is paramount for reader experience and for enabling automatic features like a table of contents.
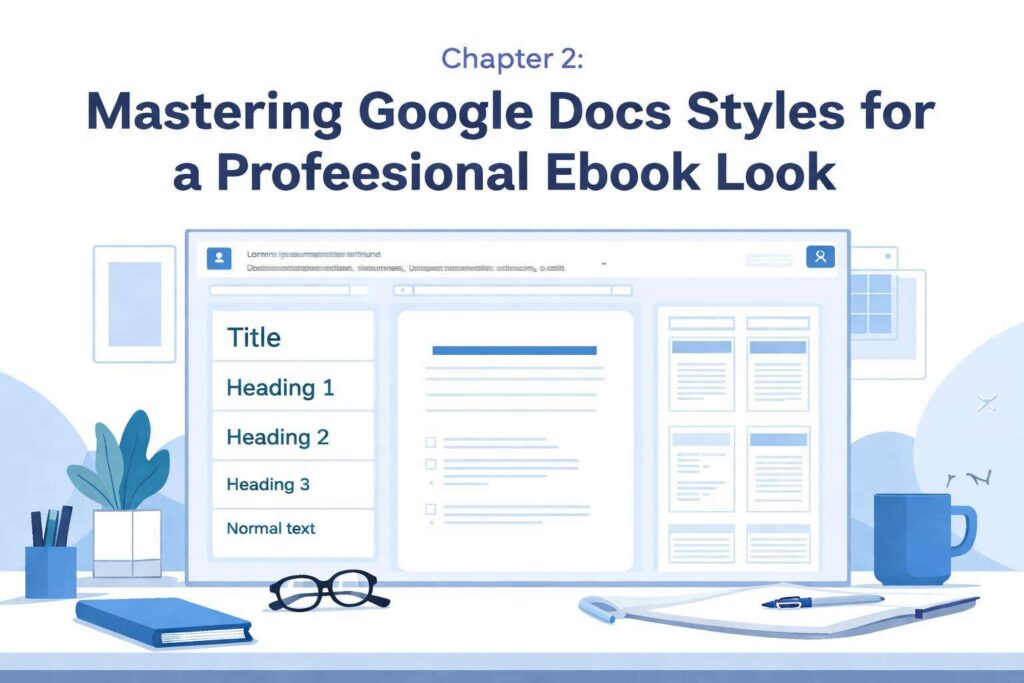
Implementing Heading Styles for Structure and Navigation
Heading styles (Heading 1, Heading 2, Heading 3, etc.) are crucial for structuring your eBook.
- Heading 1: Typically used for your main book title and chapter titles.
- Heading 2: Useful for major sections within a chapter.
- Heading 3: For sub-sections or more granular divisions.
Using these built-in styles correctly is what allows Google Docs to generate an automatic table of contents and for ebook readers to recognize chapter breaks and navigation points.
Apply these styles diligently to your chapter titles and any subheadings.
Creating and Managing Custom Styles for Unique Elements
Beyond standard headings and body text, you might need styles for specific elements like block quotes, author notes, epigraphs, or pull quotes.
You can create custom paragraph styles to manage these consistently.
- Format a piece of text exactly how you want your custom style to appear.
- Highlight the formatted text.
- Click on the “Styles” dropdown menu in the toolbar.
- Select “Normal text” (or another appropriate base style).
- Choose “Update ‘Normal text’ to match” (this is a temporary step to capture the formatting).
- Go back to the “Styles” dropdown, click the arrow next to “Normal text” (or whatever style you just updated), and select “Save as my default styles.
- ” This ensures future documents will have these custom styles.
- Alternatively, and often better for ebook-specific styles, is to format the text, go to the Styles dropdown, click “Other styles,” then “Create new style.
- ” Give it a descriptive name (e.g., “Block Quote”).
The “Styles” Dropdown: Your Command Center for Formatting
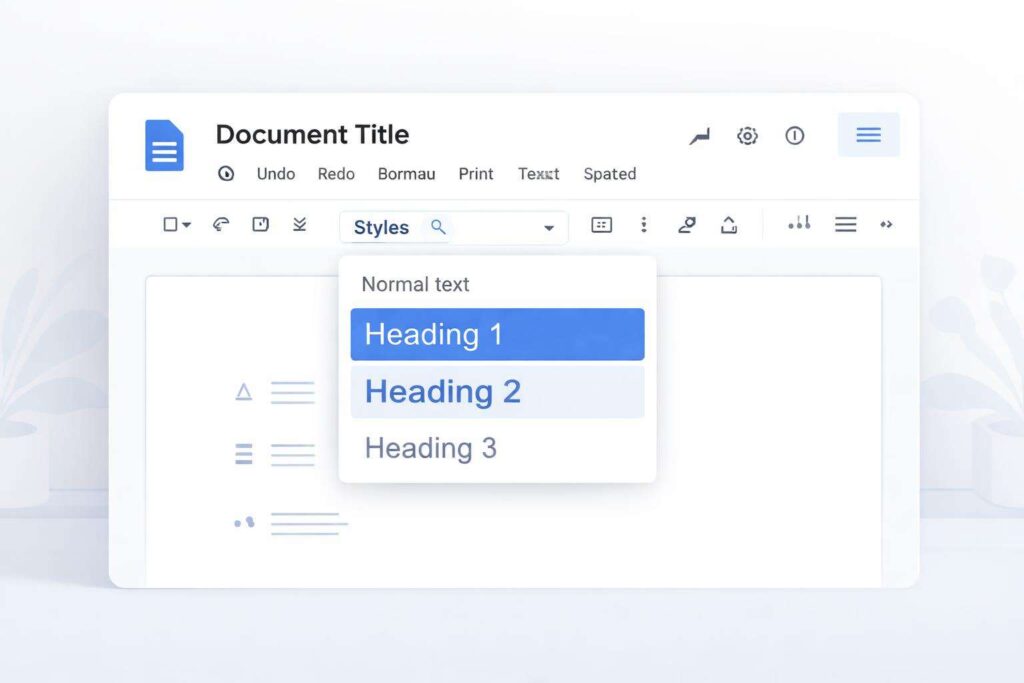
The “Styles” dropdown menu, typically located to the left of the font selection in the toolbar, is your central hub.
It displays your applied paragraph style and allows you to select and apply others.
Clicking the dropdown reveals a list of default styles (Normal text, Title, Subtitle, Heading 1-4) and any custom styles you’ve created.
Hovering over a style and clicking the arrow next to it provides options to edit, clear, or update the style.
Ensuring Consistency: Applying Styles Across Your Entire Manuscript
Consistency is the golden rule.
Once you’ve defined your styles (especially for body text, headings, and any custom elements), make it a habit to apply them to every section of your manuscript as you write or edit.
Avoid manual formatting at all costs.
If you need to change a font, a size, or an indentation for all instances of a particular element (like all chapter titles), you only need to update the style definition, and Google Docs will instantly update every piece of text formatted with that style throughout your document.
This saves immense time and ensures a flawless final product.
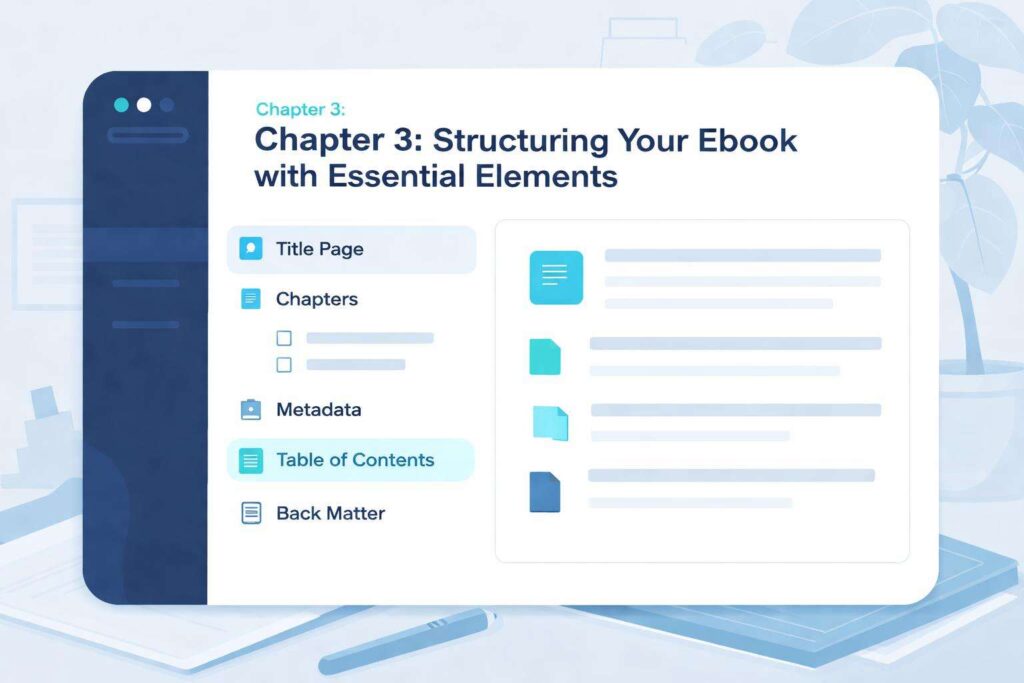
A well-structured ebook guides the reader smoothly through your content.
Google Docs provides tools to implement essential structural components that enhance usability and professionalism.
Crafting Your Cover Page Placeholder
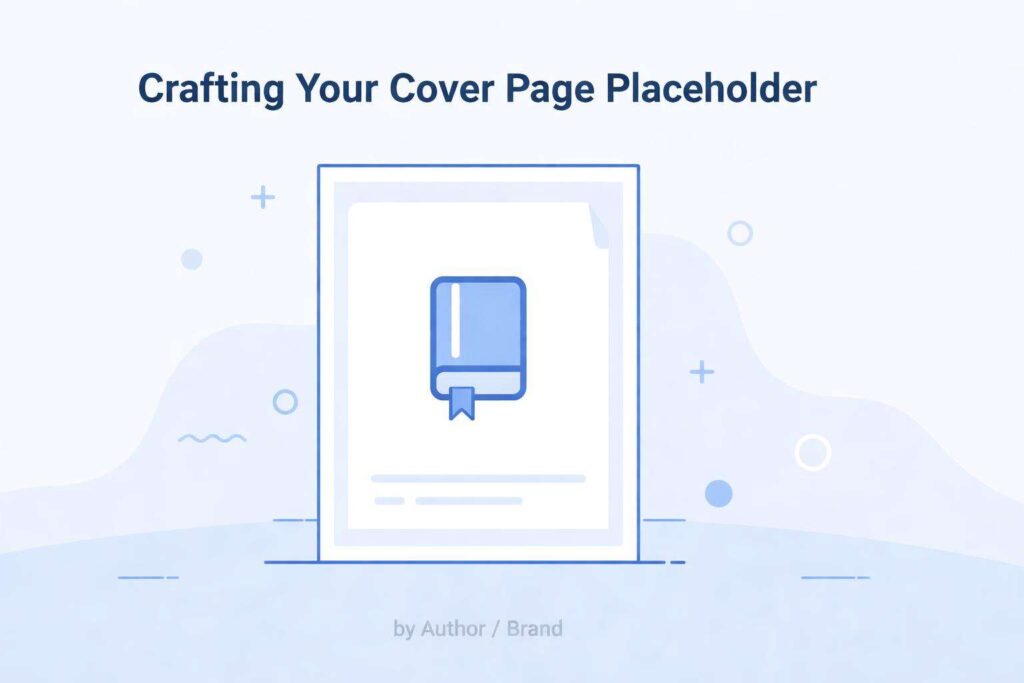
While Google Docs isn’t a graphic design tool for creating a visually stunning ebook cover, you’ll need a space for it.
The cover is typically the first file uploaded to publishing platforms.
For your internal document, create a placeholder.
Insert a page break at the very beginning of your document (Insert > Break > Page break).
On this first page, you can add text like “[EBOOK COVER GOES HERE]” or a placeholder image if you have one.
This ensures your main content starts on page two, which is common practice.
Designing Your Title Page
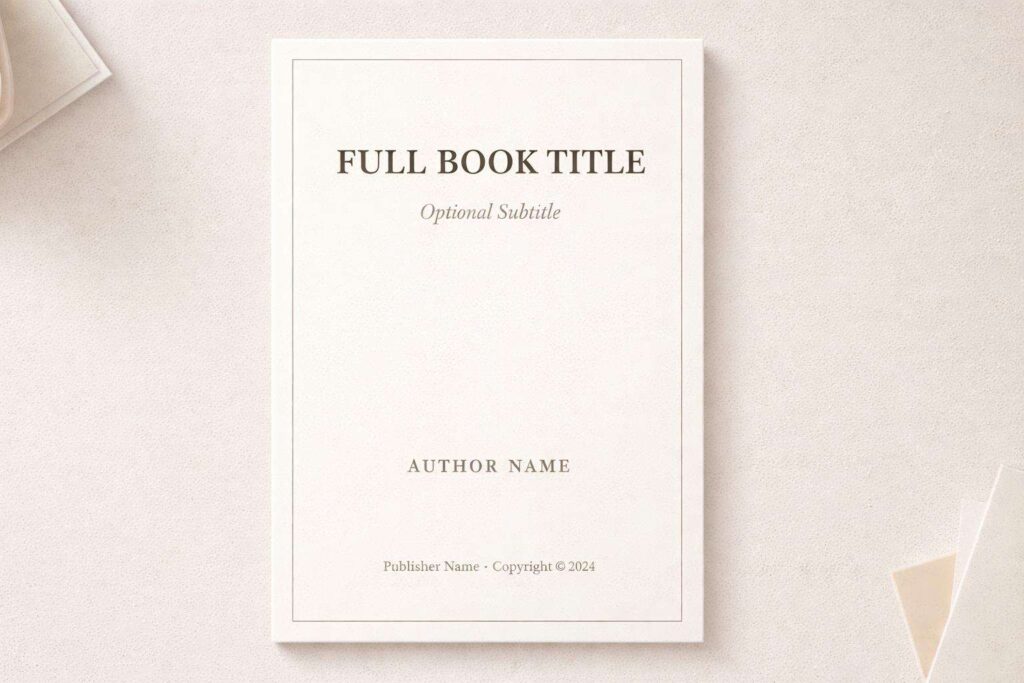
Following the cover placeholder, your title page is essential.
This page typically includes:
- The full title of your book.
- Your author name.
- Potentially, a subtitle.
- Sometimes, the publisher’s name (if applicable) or a copyright notice.
Format this page clearly using appropriate styles (e.g., Title, Author Name styles).
Center the text for a traditional look.
This page should be distinct from your chapter content.
Clearly Defining Chapter Headings
As mentioned in Chapter 2, use your Heading 1 style for all chapter titles.
Ensure each chapter title is distinct and clearly marks the beginning of new content.
If you decide to use introductory material (like a preface or dedication) before your first chapter, ensure these are formatted with appropriate styles (e.g., Heading 2 or custom styles) and do not carry the Heading 1 style, which is reserved for chapters.
Utilizing Page Breaks for Clean Chapter Starts
To ensure each chapter begins on a new “page” in the reflowable ebook format, use page breaks.
After the final text of a chapter, insert a page break (Insert > Break > Page break).
This forces the next section of text (your next chapter title) to appear on a new digital page, maintaining a clean separation between chapters.
This is crucial for reader navigation and the aesthetic presentation of your ebook.
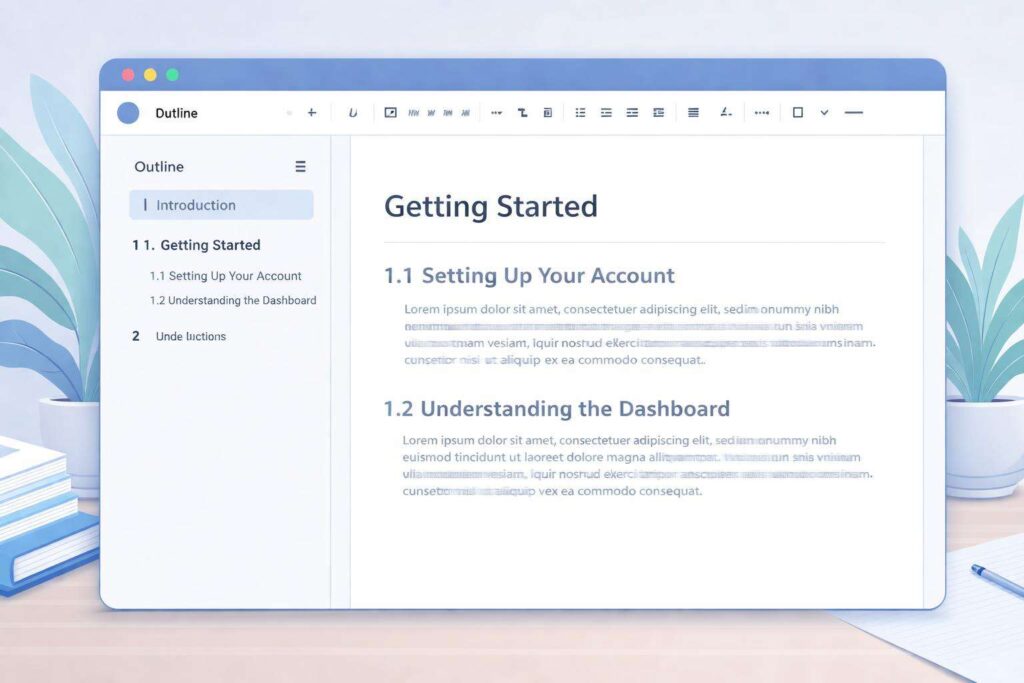
Generating an Automatic Table of Contents
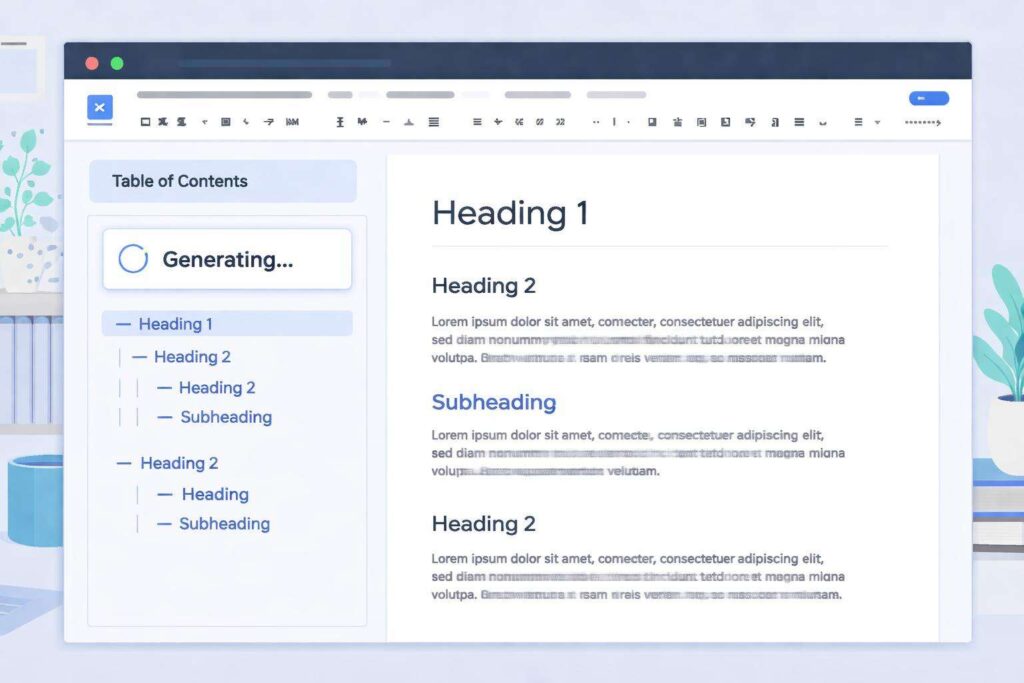
One of the most significant advantages of using heading styles is the ability to automatically generate a table of contents (TOC).
- Place your cursor where you want your TOC to appear (typically after the title page and before your first chapter).
- Go to Insert > Table of contents.
- Choose one of the styles provided.
- The dotted-line style is common for ebooks as it includes page numbers that will update automatically.
- Google Docs will scan your document for text formatted with Heading 1, Heading 2, and Heading 3 styles and populate the TOC accordingly.
- Crucially: After making any subsequent changes to your headings or chapter titles, return to the TOC, click on it, and select “Update table of contents” to ensure it remains accurate.
Integrating Page Numbers (and Ebook Considerations)
While page numbers are standard in print books, their implementation in reflowable ebooks is nuanced.
Ebook readers often display location numbers or percentages rather than fixed page numbers.
However, including page numbers can still be beneficial for cross-referencing or if your ebook will also be distributed as a PDF.
To add page numbers:
- Go to Insert > Page numbers.
- Choose a placement option.
- For ebooks, placing them in the footer is generally preferred.
- You might opt for “First page different” if you want to exclude the title page or preface from numbering.
- Customize the font and size for readability.
Be aware that when you export to EPUB, these fixed page numbers might not display as expected on all e-readers.
They serve more as a reference within the Google Docs document or for PDF exports.
Using Headers and Footers Effectively (or Not at All) in Ebooks
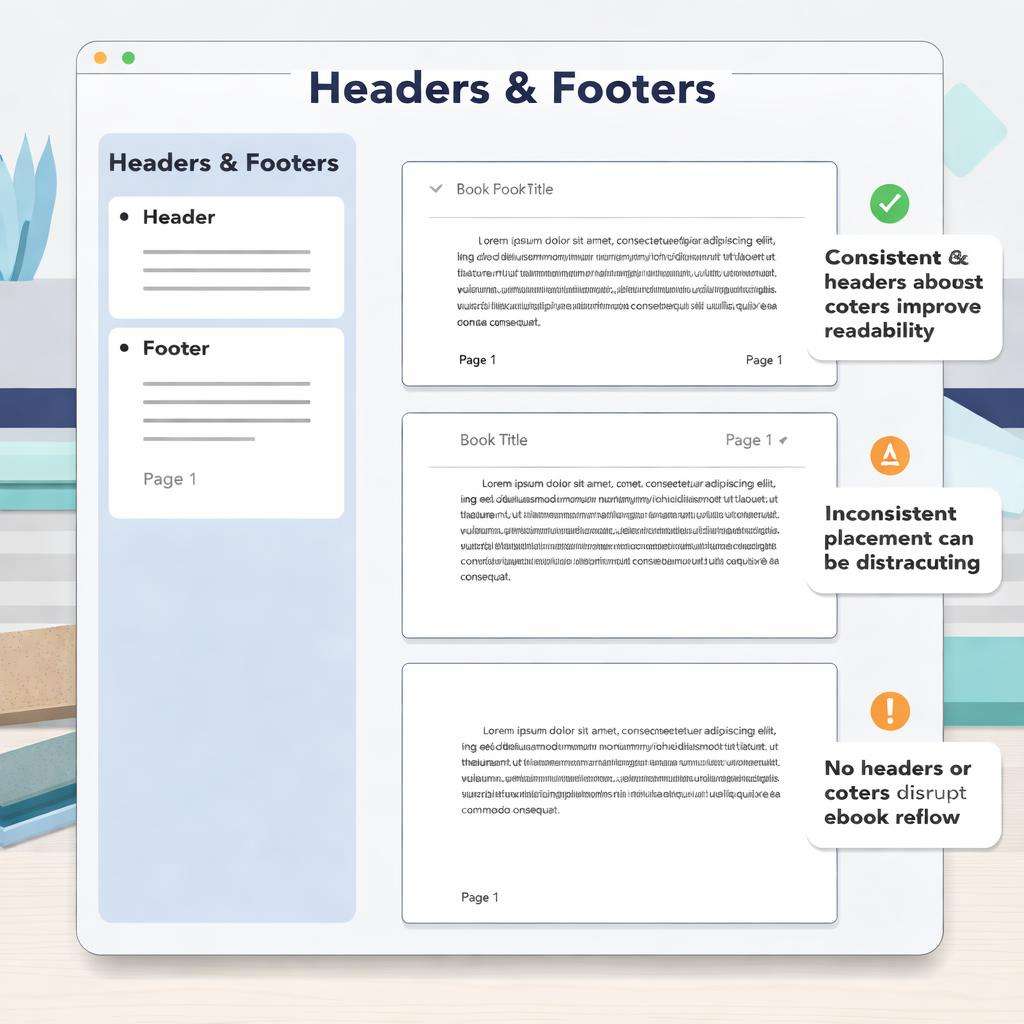
Headers and footers in Google Docs can contain elements like page numbers, chapter titles, or author names.
- Headers: While you can add text to the header, it’s often omitted in reflowable ebooks to maximize reading space and avoid clutter.
- If you do use it, consider placing just the book title or author name.
- Footers: As discussed with page numbers, footers are more commonly used.
- You might place page numbers here.
- However, some authors choose to have no headers or footers in their reflowable eBooks, relying on the chapter titles and TOC for navigation.
When exporting, the inclusion of headers and footers can sometimes lead to formatting quirks.
It’s often best practice for a reflowable ebook to minimize or exclude them in Google Docs, focusing on clean chapter starts and a robust TOC.
Chapter 4: Enriching Your Content with Visuals, Links, and Special Formatting

Beyond the core text and structure, enhancing your ebook with images, internal links, and thoughtful text formatting can significantly improve reader engagement and usability.
Integrating Images Effectively📸
Images can break up text, illustrate concepts, and add visual appeal.
- Inserting Images: Go to Insert > Image and choose your source (upload from computer, search the web, etc.).
- Placement: After inserting, click on the image to select it.
- The text wrapping options below the image will appear.
- For eBooks, “Wrap text” or “In line with text” are generally best.
- “Wrap text” allows text to flow around the image, creating a more dynamic layout.
- In line with text” places the image as if it were a large character in the text, ensuring it stays with its surrounding paragraph.
- Avoid “Break text” or “Behind text” for reflowable eBooks.
- Sizing and Resolution: Resize images by dragging their corners.
- Ensure images are of good quality but not excessively large in file size, as this can impact your eBook’s download speed and storage.
- Aim for images that are appropriately sized for screen viewing.
- Alt Text: For accessibility, consider adding alt text to your images by right-clicking on the image and selecting “Image options,” then filling in the “Description” field.
Creating Internal Hyperlinks for Easy Navigation
Internal hyperlinks allow readers to jump to different sections within your eBook.
This is particularly useful for reference books, indexes, or guiding readers through complex topics.

Highlight the text you want to be a hyperlink.
- Go to Insert > Link (or press Ctrl+K / Cmd+K).
- In the “Link” box, type # followed by the exact text of the heading you want to link to.
- For example, if you want to link to a chapter titled “Chapter 5: Conclusion,” you would type #Chapter 5: Conclusion.
- Click “Apply.
- ” When readers click this link in the eBook, they will be taken directly to that heading.
Adding External Hyperlinks to Resources or Websites

External hyperlinks connect readers to information outside your ebook, such as your website, social media profiles, or relevant online resources.
- Highlight the text you want to link.
- Go to Insert > Link.
- Paste the full URL (e.g., https://www.yourwebsite.com) into the link box.
- Click “Apply.”
Ensure these links are active and lead to reliable sources.
Many ebook platforms automatically convert these URLs into clickable links.
Leveraging Basic Text Formatting Options
Beyond styles, basic text formatting allows for emphasis and readability.
- Bold: Use sparingly for emphasis on key terms.
- Italics: Suitable for foreign words, thoughts, or specific emphasis.
- Underlining: Generally avoid underlining in ebooks as it can be confused with hyperlinks.
- Use these tools intentionally to enhance, not distract from, your content.
Remember, the primary goal is readability across various devices.
Chapter 5: Review, Refine, and Collaborate for a Polished Ebook
Before you export, a thorough review and refinement process, ideally involving collaboration, is essential to ensure your ebook is polished, error-free, and ready for publication.
Thorough Proofreading and Editing

This is a critical step.
Even the most compelling content can be undermined by typos, grammatical errors, and inconsistencies.
- Read Aloud: Reading your manuscript aloud helps you catch awkward phrasing and errors your eyes might skim over.
- Take Breaks: Step away from your document for a day or two.
- Returning with fresh eyes makes it easier to spot mistakes.
- Use Google Docs Tools: Utilize the built-in spell checker and grammar checker.
- These are accessed via Tools > Spelling and grammar > Spelling and grammar check.
- Check for Consistency: Ensure your formatting, terminology, and factual information are consistent throughout.
- Leveraging Collaboration Features
Google Docs excels in collaborative editing.

Invite trusted readers, editors, or beta testers to review your manuscript.
- Sharing: Click the “Share” button in the top right corner.
- You can share with specific individuals via email or create a shareable link.
- Suggesting Mode: For reviewers who should provide feedback without directly altering your text, set their permission to “Suggesting.
- ” They can then add comments or suggest changes that you can accept or reject.
- This is invaluable for editorial feedback.
- Commenting: Use comments (Insert > Comment) to ask questions or provide notes to collaborators.
- Version History: Google Docs automatically saves versions of your document.
- You can review past versions by going to File > Version history > See version history.
- This is a lifesaver if a mistake is made or if you want to revert to an earlier draft.
- Final Content Checks
Before export, perform a final read-through focusing on the overall flow, clarity, and impact of your eBook.
Ensure all chapter titles are correct, the table of contents is accurate, and any images or links are functioning as intended within the Google Docs environment.
Chapter 6: Exporting Your eBook
The final stage involves transforming your Google Docs manuscript into an ebook-compatible format.
Google Docs offers several export options, but EPUB and PDF are the most common for ebooks.
Understanding EPUB, MOBI, KPF, and PDF
- EPUB (Electronic Publication): This is the most widely accepted open standard ebook format.
- Most e-readers and ebook apps support EPUB.
- It’s reflowable, meaning text adjusts to screen size.
- This is your primary target format for general ebook distribution.
- MOBI: An older format primarily associated with Amazon Kindle.
- While still supported, Amazon now prefers KPF.
- KPF (Kindle Package Format): Amazon’s current preferred format for Kindle Direct Publishing (KDP).
- You often convert your EPUB or Word document to KPF using Amazon’s Kindle Create tool.
- PDF (Portable Document Format): A fixed-layout format.
- While you can download your Google Doc as a PDF, it’s generally not ideal for reflowable ebooks meant for e-readers, as text won’t adjust and can appear small or unreadable on smaller screens.
- It’s better suited for documents intended for printing or fixed-layout digital distribution.
- Exporting as EPUB
Google Docs does not directly export to EPUB.
This is a critical limitation.
You will need to use a workaround:
- Export as Word Document (.
- docx): Go to File > Download > Microsoft Word (.docx).
- Convert to EPUB: Use a free online converter or dedicated software to transform your .docx file into an EPUB.
- Popular free online converters include Calibre (which you download and install) or various web-based tools.
- When using these tools, ensure you select “EPUB” as your output format.
Preparing for Amazon Kindle
For Amazon Kindle, you have a few options:
- Convert .docx to EPUB: Follow the steps above to get an EPUB file.
- Then, use Amazon’s Kindle Create tool (a free download) to open your EPUB and create a KPF file, or upload the EPUB directly to KDP.
- Use Kindle Create Directly: Upload your .
- docx file directly into Kindle Create, which will help you format and convert it into a Kindle-ready format.
- Upload .docx Directly to KDP: Amazon’s KDP platform can often convert a .
- docx file directly into a Kindle format.
- However, results can vary, and it’s often best to have more control by converting to EPUB or KPF first.
Common Export Issues and Troubleshooting
- Formatting Quirks: Unexpected line breaks, misplaced images, or font changes can occur.
- This is why starting with clean styles in Google Docs is so important.
- If issues persist after exporting, you might need to make minor adjustments in your .docx file before converting, or use an EPUB editor like Sigil for fine-tuning.
- Table of Contents Not Linking: Ensure you used headings correctly and that your TOC is updated.
- If linking internally using the #Heading method, ensure the heading text is exact.
- Images Misplaced: Double-check your image wrapping settings in Google Docs and ensure you used appropriate styles before exporting.
- Chapter 7: Final Touches Before Publishing
With your ebook drafted, structured, and exported, a few final steps ensure a smooth transition to publication.
Previewing on Different Devices
Before uploading your ebook to platforms like Amazon, it’s vital to preview how it will look on actual e-reading devices.
Many ebook conversion tools, including Kindle Create, offer preview functionality.
You can also email the EPUB file to your Kindle device or app for a direct preview.
This step helps catch any last-minute formatting errors specific to screen rendering.
Metadata Basics
Metadata refers to the descriptive information about your ebook, such as title, author name, subtitle, description, keywords, and categories.
This information is crucial for discoverability on online retailers.
You’ll typically enter this information directly into the publishing platform (like Amazon KDP) when you upload your ebook.
Ensure your metadata is accurate, compelling, and keyword-rich to attract potential readers.
File Naming Conventions
For organization, adopt a clear file naming convention for your ebook files.
A common approach is AuthorName_BookTitle_Format.
epub or AuthorName_BookTitle_CoverPage.
jpg.
This helps you easily identify different versions and files associated with your project.
A Note on Publishing Platforms
While this guide focuses on creation, remember that platforms like Amazon Kindle Direct Publishing (KDP), Kobo Writing Life, Apple Books, and Google Play Books are where you’ll ultimately upload your formatted ebook files and publish them for sale or distribution.
Each platform has its own specifications, so consult their guidelines for the best results.
The self-publishing market is growing rapidly, projected to reach $6.
16 billion by 2033, highlighting the extensive opportunities for authors [Reedsy, 2025].
Creating a professional ebook doesn’t require expensive software.
By leveraging the free, accessible, and collaborative power of Google Docs, you can craft a well-structured and visually appealing digital book.
You’ve learned to set up your document, master styles for consistency, build essential ebook components like a table of contents, enhance your content with visuals and links, and navigate the crucial export process.
While Google Docs doesn’t directly export to EPUB, the workflow of exporting to .
docx and then converting provides a viable solution.
Remember that while print books remain popular, a significant portion of readers prefer ebooks, making this format essential for reaching a broader audience [48 Hour Books, 2025].
The global ebook market is thriving, projected to grow significantly, underscoring the immense potential for independent authors [Ebook Market Share, Size, Growth & Trend, 2034, 2026].
Embrace these tools, refine your work diligently, and take the leap into publishing your ebook with confidence.